Range is the critical factor in the quality and performance of a remote car starter or security system. That’s the distance between you and your vehicle when you’re sending a lock, unlock or remote start command, or are hoping to receive a security notification. If you aren’t close enough, or the convenience system doesn’t have enough power, signals may not reach the vehicle or the remote.
Remote Starter and Security System Key Fobs
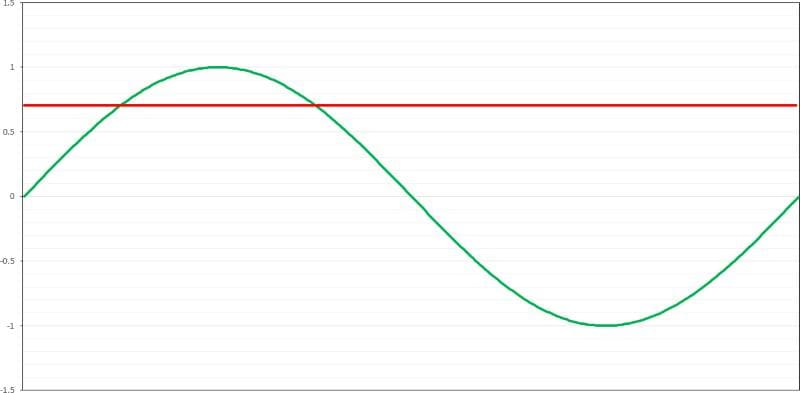
The handheld remote that comes with your vehicle or an aftermarket starter uses radio frequency communication to transmit commands. These work in a similar fashion to a radio station in that they broadcast in a circular pattern from the remote. If your vehicle is close enough and the signal is strong enough, the receiver in the car or truck will relay the command to the control module and execute the function.
Let’s look at two-way remote controls. A two-way remote sends a command such as “unlock” to the vehicle when you press the button. When the command has been received and the doors are unlocked, the transceiver in the car sends a command back to your remote to let you know the request was executed. The benefit of this two-way communication is that you always know the status of your car or truck. There’s no need to guess whether the doors are locked or the engine is running.

How Do Remote Car Starter Companies Define Range?
No matter which brand of convenience or security system you’ve chosen, they all try to describe the distance between the vehicle and the remote in a measurable range. The simplest aftermarket remotes usually offer about 1,000 feet (about 300 meters) of range under ideal conditions. The step-up systems provide solutions that work at ¼ mile, 3,000 feet (914 meters) or 1 mile (1.61 kilometers). Some companies offer ultra-long-range radio frequency remotes that can deliver 2 or even 3 miles of range.
All manufacturers of remote start systems calculate these distances based on ideal controlled conditions. With trees, houses or buildings between you and the vehicle, the maximum functional range will decrease dramatically. If you’re inside a building (apartment, office tower, factory, hospital, etc.), that will decrease the effective range. A lot of electrical interference from communication systems will also reduce the usable range. We’ve seen cases where a specific remote solution worked great in one city but barely worked at all in another because a nearby military base was broadcasting something in the same frequency range.
To compare remotes, consider their power levels. The simplest 1,000-foot models could be your distance benchmark. A remote that offers 3,000 feet of range isn’t just three times more powerful; it’s closer to eight times as powerful. Because the signal radiates in a circular pattern, the power level needs to be about four times stronger to double the distance. That would mean a transmitter needs to be 16 times stronger to quadruple the effective distance. So, a remote that offers 1 mile of range is just over 25 times more powerful than one that only provides 1,000 feet of functionality. The 2-mile remotes are 100 times more powerful than the 1,000-foot models, and 3-mile units are an amazing 223 times more powerful.
Manufacturers of remote start and security systems work to increase range in other ways. The first is to switch from amplitude modulation (AM) signal to frequency modulation (FM). As you may have noticed on your car radio, FM offers better noise rejection than AM. The second method to improve range is to use what’s known as frequency-hopping or spread-spectrum communication. A simple way to understand this is to think of spread-spectrum systems as a group of people yelling a command rather than a single person. If there is noise interfering with one person yelling, the message from one of the other people is still likely to get through.

Why Is Remote Range Important?
If you park your car in the driveway of your house and want to start it before work, you don’t need much range. A 1,000-foot system will likely be more than adequate. If you’re in an apartment on the fourth or fifth floor and the car is parked below you, the same applies. However, if you live on the other side of that apartment building, you’ll need to send a much stronger signal.
Think, too, about where you work. Do you work in a small office where your car is parked outside the window? If so, 1,000 feet is lots of transmitting strength. What if you work in a hospital, a distribution warehouse or a manufacturing facility and your car is 1,500 to 2,000 feet away? There may also be mechanical and electronic equipment along with the metal structure of the building between you and the vehicle. You may need 20 or 50 times as strong of a signal to let you start the car.
Logically and not incorrectly, you could wait until you were at the door to the parking lot to start your car and let the air conditioning run in the summer or get the heater working in the winter. However, if it’s the latter, the car won’t warm up much in the two or three minutes it takes to walk across the parking lot. The whole purpose of a convenience system is to make the vehicle more comfortable when it’s time to drive away.
If you have a security system or security features tied into a remote starter, you can receive warnings from the alarm portion of the system on some premium two-way remotes. If you’ve parked your car or truck at a big shopping mall, it’s not unreasonable that you’d be more than a quarter-mile away. With that said, the ¼-mile system isn’t going to work with concrete and steel walls, dozens of stores and hundreds of people on their cell phones between you and your vehicle. Transmitter power is fundamental here – both from the remote and from the transceiver in the vehicle.
A Quick Test of Remote Starter Range
To quantify some of the range claims, we headed to a local light-industrial area to test how far away we could be and still receive a reliable confirmation that a command from our remote worked. The first system featured a two-way remote control with a color display that’s marketed as offering 1 mile of range. We used the infamous remote-to-chin trick (which turns your head into an antenna) to maximize performance, and we were able to get the system to function at a distance of 2,000 feet (615 meters).
The second system features a one-button remote with LED confirmation. It’s listed as providing up to 2 miles (3.2 kilometers) of range. We managed an impressive 1.11 miles (1.78 kilometers) in our urban test scenario. Just as a note, the battery in this remote was a year old, so there is a slight chance we could have bettered that number.
Nevertheless, the real-world numbers in this test came in at 38% and 55% of the maximum the companies use in their marketing. Given the caveats of interference, these aren’t surprising. If we were in a remote part of Texas or Saskatchewan with flat terrain with no trees, cell service, radio stations or buildings, we’d have no problem believing that these systems would deliver every inch of their ratings.

We took the long-range system to a local shopping mall for a second test and parked at the very southwestern corner of the parking lot. We parked facing the door and in line with the long center hallway in the mall. This positioning would provide a best-case scenario in terms of range.
The first test was to check out the factory keyless entry system. As we walked through the parking lot, we pressed the lock button. At a distance of 195 feet (60 meters), we had to turn around and face the car for it to respond. This continued to work right up to the door of the mall at 290 feet (88 meters). The vehicle continued to react once we were through the first set of doors but not after the second. So, we’ll call that about 300 feet (100 meters) of range.
We switched to the one-button two-way LED remote that’s marketed as offering 2 miles (3.2 kilometers) of range. We continued in a straight line down the mall’s main corridor into the large department store at the end. Just as we passed the perfume section a quarter of the way through that store, we ran out of range. That’s a total of 1,400 feet (427 meters).
Given the line-of-sight benefit, we decided to stray off down a few of the side corridors. A little to the north, with a few dozen more stores in the way, the range was down to 920 feet (280 meters). Farther west of that, with even more stores between us and the car, the range was down to 740 feet (225 meters).
At no time were we disappointed with the test. It was amazing to see just how far we could get and the types of interference that reduced the effective range. On the other hand, it was no surprise to see how poorly the factory remote fob worked.

What Do You Need To Know About Remote Range?
Just as with some of the overzealous power ratings on speakers and amplifiers we see, using the longest range possible in marketing information is just a part of reality when it comes to the performance of remote starter, security and convenience systems.
When buying a remote car starter or security system for your car or truck, think about the worst-case scenario in terms of how much transmitting power you’ll need. We’ve heard of people starting their vehicles from a monorail when more than a station away from their stop or while flying into a small airport in a small commuter plane.
If you want your vehicle to be comfortable and ready to go when you are, extra power from the car starter or security system remote will give you more warm-up/cool-down time. Drop by your local specialty mobile enhancement retailer today to find out about the security and convenience solutions available for your vehicle.
This article is written and produced by the team at www.BestCarAudio.com. Reproduction or use of any kind is prohibited without the express written permission of 1sixty8 media.