If you have been around the car audio industry for as long as we have, then you have likely used an audio processor in your vehicle. This veteran company is recognized worldwide for its line output converters, equalizers and crossovers. A few decades later, the brand has introduced several series of amplifiers. Their latest offering is the Altitude Series. In this spotlight, we’ll check out the four-channel A600.4 amp.
AudioControl A600.4 Specifications and Features
The A600.4 four-channel amp is rated to produce 100 watts of power per channel when driving four-ohm loads. That output increases to 150 watts per channel when driving two-ohm loads. When each pair of channels is bridged to a four-ohm load, the amp produces 300 watts of power.
With respect to performance, the amp has a THD+N specification of <0.21% and a signal-to-noise ratio of 107 dBA referenced to full power.
Let’s start with a unique feature included in the A600.4 – Valet mode. When a 12-volt signal is applied to the Valet input, the maximum power the amp can produce is reduced to 25% of its maximum output. The malfunction indicator LED will illuminate orange when the amp is in Valet mode. If you are concerned about someone abusing your car audio system, this feature is perfect for keeping your speakers safe.
The A600.4 is also equipped with AudioControl’s Great Turn-On (GTO) circuit. The amp can be activated by applying 12 volts to the remote input. Alternatively, when in GTO mode, the amp will detect the ~6-volt bias on the speaker wires of a factory-installed or aftermarket radio. If your installer is integrating the amp into a vehicle with a full-bridge amplifier, Audio mode will monitor the inputs for the presence of an audio signal to wake the amp up.
Another unique feature of the A600.4 is its use of Linkwitz-Riley alignments on the crossovers. While the slopes are still shallow at 12 dB / Octave, they will sum smoothly around the crossover point because the signal will be -6 dB at the knee frequency. Butterworth crossovers are only at -3 dB at the crossover point, which results in a 3 dB bump when the acoustic signals sum. In short, your system will sound better and have improved clarity around the crossover frequency with this design.
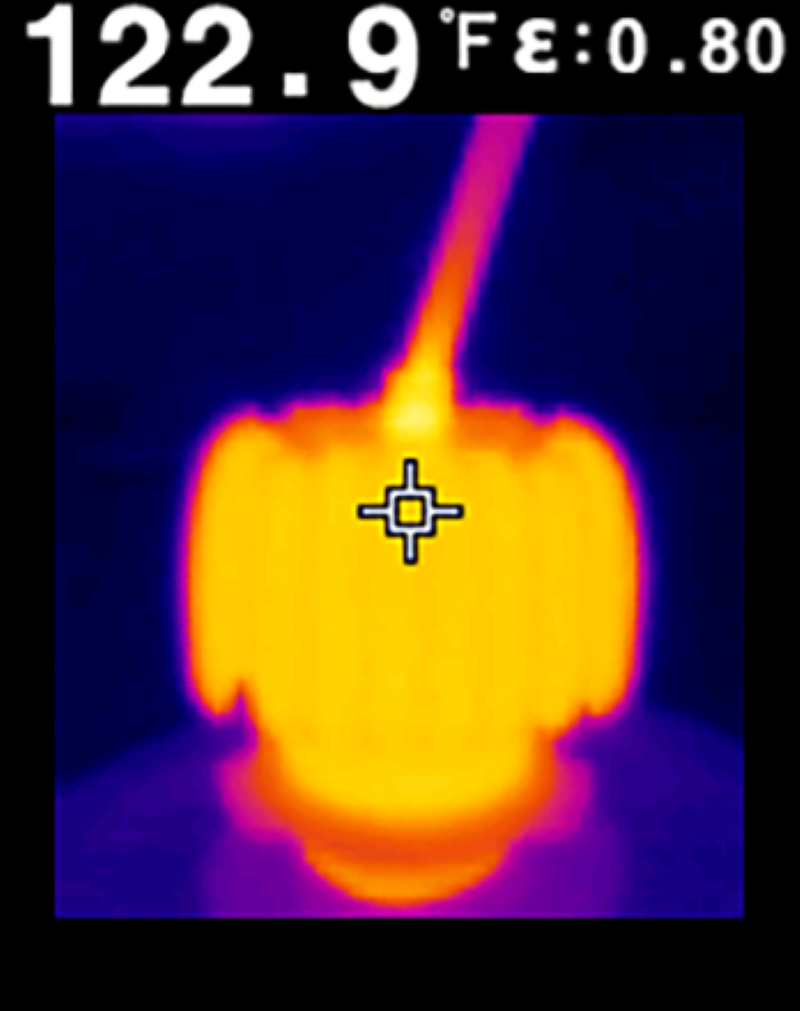
The amplifier is based on an aluminum extrusion and features uniquely styled end-caps for a clean appearance. A removable panel on top of the amp conceals all the signal adjustments and the set screws for the power and speaker connections.
All connections are made along the front edge of the amp using high-quality terminal blocks for 4-AWG power and ground, and 12-AWG speaker wire connections.

Signal Processing Information
Each pair of channels has a sensitivity control that is adjustable from 0.5 to 6 volts on the RCA inputs and 1.5 to 20 volts on the speaker-level inputs. The speaker inputs are on an eight-pin Molex plug, and AudioControl calls this the LC Direct connection. The amp has a two or four-channel input switch. In two-channel mode, the signal on channel 1 (LC Direct or RCA) is copied to channel 3, and the signal on channel 2 is copied to channel 4. This is ideal if you are connecting that amp to something like a Bluetooth streaming device as a signal source. Each pair of channels has a Max input indicator. This LED will illuminate when the input is maximized and should flash occasionally when playing music recorded at high volume levels.

The crossover on each pair of channels is adjustable between 50 and 500 Hz, or when the x10 switch is enabled, 500 to 5 kHz. This is enough range to handle subwoofer to midrange speakers, or midrange to tweeters. The crossovers on both channel pairs can operate in high- or low-pass mode to ensure maximum system design flexibility.
The amp has an RCA output terminal that can be used to feed an audio signal to an additional amplifier like the A800.1 800-watt monoblock to power a subwoofer.
Finally, there is a connection for an optional ACR-1 remote level control. When connected, you can adjust the output level of channels 3 and 4 to suit your mood or the music you’ve chosen.

Upgrade Your Car Audio System with AudioControl
If you are shopping for a well-equipped four-channel amplifier to enhance your car audio system, drop by a local authorized AudioControl retailer and ask about the new Altitude Series A600.4. You can find a dealer near you using the locator tool on the AudioControl website.
Be sure to follow AudioControl on Facebook, Instagram and YouTube to stay up to speed with all their new products and solutions.
This article is written and produced by the team at www.BestCarAudio.com. Reproduction or use of any kind is prohibited without the express written permission of 1sixty8 media.